Wednesday, October 4, 2017

Curating Your Home While Inspiring Others

Designing or styling a space to inspire others can be a fun yet challenging feat. With Pinterest, Instagram, and blogging all the rage, it's hard to feel like your just another home decor account in a giant ocean. Since I've been on IG (for the last year) my feed and style have evolved over time, but one aspect of my style has not changed, and that is my love of texture and layering. Today, I am going to share with you my thoughts to designing a space that is loved by a community. If you're not a home decor account stick around, because I will also be sharing tips and tricks on how to style a space. Let's get started, shall we?

First, I want to start by discussing my bedroom. My goal for my bedroom has always been having a cozy, well curated space, that has meaningful elements. I also (in photos) want my room to evoke cozy and well lived in feeling. At the end of the day if I don't want to run and jump into my bed, why would you be interested in the vibes of it? In my opinion successful IG photos are the ones that someone would want to walk right into and plop down or cook a good meal.

Advice #1: curate a well thought out, but high functioning space. You don't need to have all white everything to be successful. You dont need to have the top of the line home decor pieces to be successful. You just need a well developed, loved space. People want to see obtainable home decor, things they can recreate. They want an experience when they see your photos. They want to feel good when they walk away from your feed. The same goes with house guests, does your home feel like one a guest can relax in or would someone fear sitting on the sofa?


Advice #2: The only box that you will feel trapped in is the one you placed upon yourself. I learned this the hard way at the beginning of my IG journey. I wanted to follow Joanna Gaines to a "t" but I couldn't live with 2 kiddos, a dog, and husband who likes freeze pops with all white everything. When I did attempt the look it felt so uninspired (to me). I want my home to inspire me and be a place of solace. --consider it my charging station-- after all if you can't let your kid touch a pillow than why have the pillow... Get me? Now, don't hear me say that this look isn't beautiful, because it truly truly is, it just doesn't work for me personally.

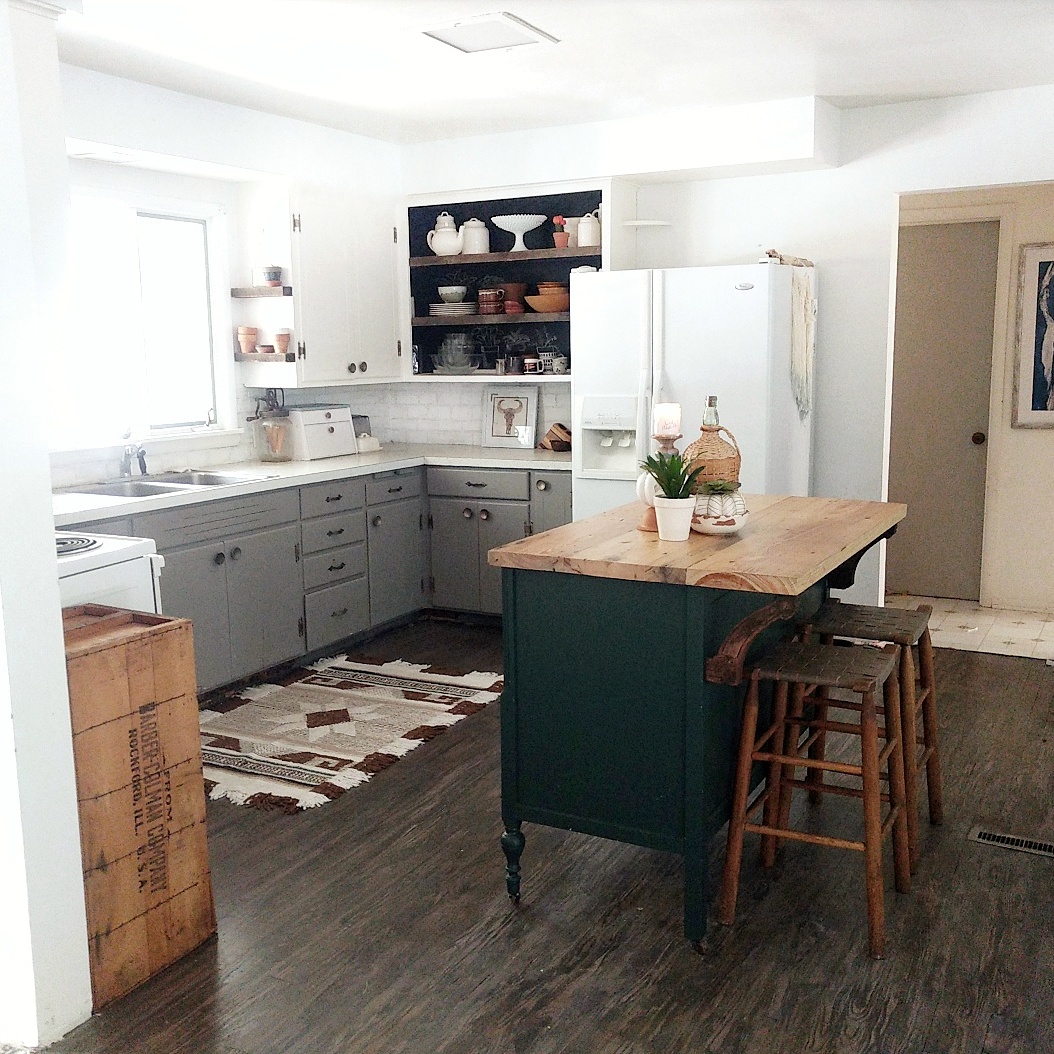
Advice #3 Work that cozy factor. The biggest feedback that I receive is how cozy my home is. I achieve this by layering textures and color schemes within my space. For example, in this photo you see a multitude of textures, but none of them are fighting for your attention.

 You can easily waft through the shot. The layering of rugs, but the balance of the gray rug with the gray couch, and the gray wall. It's all there and it's all balanced, but they aren't yelling at each other. The white chairs pop off the ombre wall, but they are balanced by the white wall. The vintage rug exists in a quiet way, but it adds the texture that a room chocked full of neutrals needs.... Are you following me? (Sidenote-- my whole house might make a professional designer cringe, but it makes me smile)

Advice #4: Work a space until it feels good. Do not post until you like what you see. This is your home not a magazine shoot. Only conform to your good feelings in your space. Don't design your home based on someone else's success, design your home based on what recharges you at the end of the day. If plants don't float your boat, don't let it sink because of their popular factor. 

Advice #5: Take clean, crisp, well edited photos. People are visual. They enjoy beautiful things. You legit have one shot to evoke enough emotions to have a connection with followers. Let your home depict your heart. The feeds I love the most evoke a sense of emotion. Most of the time they are relaxing to me. For example, look at this shot from @stellbluegallery.
 I want to jump into her home. She has this warm essence to her photos and her layering is spot on.

Advice #6 Curate a cohesive feed. If your home doesn't flow visually it might be why you feel "off" some days. The same thing happens to your viewer. Everything doesn't have to match, but everything should evoke the same feeling-- the feeling that you are most comfortable with.


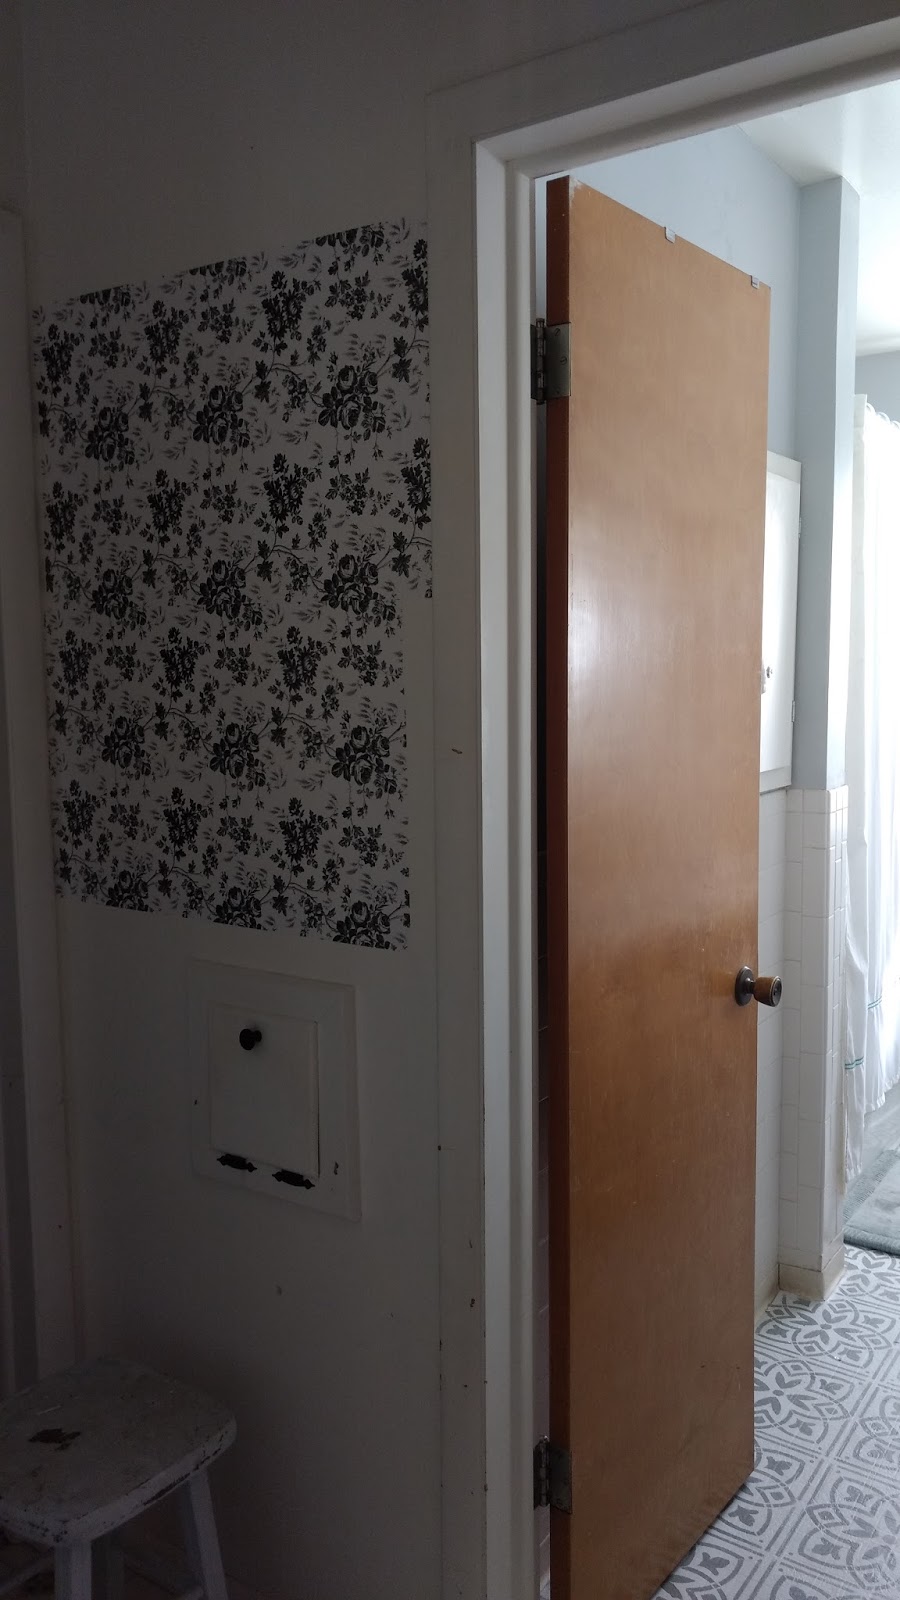
Advice #7 Allow your home to speak. Some homes don't want shiplap...it just doesn't work with their bones. Some rooms just need simplicity while others need a few visual Band-Aids. If a wall seems drab, give it a reason to shine. If a space is frustrating write down why it's frustrating. Problem solve your home the way you would work through a problem with an infant. They can't speak, but they know when they are comfortable. The key is figuring out why they are uncomfortable. Same thing goes with designing your space. What makes you uncomfortable? Discover the why, and try things that would potentially be successful. If you have to change a room 7000x do it. Work the space until it feels good.


My final thought is at the end of the day, this is YOUR home. Not the followers on IG, Facebook, or your blog. Stay in the lane that makes your heart smile. If that means 8000 pumpkins ...you rock them... If that means all white everything slay... Be ok with who you are and what your home is.

Thursday, June 8, 2017

DIY floor pouf

Alright, hold on to your seats. No really. I have a simple DIY that anyone can do. It does not require a sewing machine and it takes about 15 minutes.

Supplies:
Knee length skirt that has an elastic waist.
Yarn or rope
Bobby pin or safety pin
Random fabric/stuffing/blankets/old clothes
Scissors

Take your skirt and from the inside find the seam on the waistband. Cut a slit into the fabric so you can remove the elastic. 

 Next take your Bobby pin and tie your yarn to it. Start pushing the yarn into the hole that you removed the elastic through. The Bobby pin will help you slide the yarn through the hole.

When you get back to hole pull the yarn as tight as you can. You are creating a drawstring.
Next, pack the skirt with fabric scraps/sheets/stuffing/old sweaters (whatever you have)

Now repeat all the the steps for creating the drawstring in the bottom hem of the skirt. Cut a slit and run your yarn. Then pull it tightly and tie it off. 


There you have it. You made an easy pouf out of a skirt! 


Tuesday, May 23, 2017

Simple pillow cover DIY

Dudes, pillows are expensive. Keeping up with trends can be a challenge. I'm currently loving texture and all things cozy. So, today I put together an inexpensive (free to me) pillow cover using objects I already had.
See the fella with the fringe on top? He was so easy to DIY. Here's what you need:
1. Standard size pillow case
2. Pillow insert
3. Scissors
Take your pillow case and place your insert inside.
Cut the open end of your pillow case into strips
Tie the cut pieces together
Then, I cut the end of the tied strips up to the seam.
After that I knotted just above the strips to create a tassel effect. I chose to do this only on one side of the strips.
And there you have it. A super simple pillow cover made from things you probably have laying around the house.


Wednesday, May 17, 2017

Monochromatic Wall Art

One thing I will admit about myself is my love for home decor and constantly tweaking my decor. When I had babies my creativity begged for an outlet and I begin pouring it into decorating our home. Generally speaking I decorate my home while laying in bed trying to sleep... It's a problem 😂😂. So, in one of my decornia moments I came up with a solution for the wall in my dining room. I initially wanted to go with permanent board and batten, but again I have way too many squirrel moments for that. So, I ended up going with a monochromatic wall design. I painted my wall white and put white frames on the wall. They add the perfect amount of texture to the space without making it busy. Here is the before:
And the after: 


Monday, May 8, 2017

$1 wall hanging

I love all things boho right now, but unfortunately I don't have the budget to restyle my entire house. I do however have a few bucks to DIY pieces here and there. Today, I put together a wall piece out of a $1 hula skirt from the dollar tree. First I started by hanging the skirt on a flat surface and cutting the ends to create a geometric design.
I then took the straw pieces and pushed them all together so they were as close as possible hanging on the twine. After that I started coating the ends of the straw in rub-n-buff. 
I then started adding wooden beads from an old necklace that I had. I also added some white fabric scraps. After I completed those steps I wasn't in love, so I decided to put some white paint on the top of the strands.
I absolutely​ love how it turned out 😍


Monday, April 24, 2017

$5 wall treatment

We have a semi awkward hallway in our home that leads to our bathroom and 2 bedrooms. It also can be seen from the kitchen. Last night, I was laying in bed decor dreaming... Yes...It happens all the time. Ive been eyeballing a beautiful roll of contact paper at the dollar tree for quite sometime, but I never had a good plan for it, until last night. I decided to use it as wallpaper, because I change my home decor faster than people change their underwear, I thought it was a great solution. I bought 6 rolls of paper and put them up in about 45 minutes. Here is the process in photos:


It was super quick and has made a giant impact on the flow of that area. 

Wednesday, April 19, 2017

Easy mud cloth DIY

I've noticed a recent trend in the home decor world... I've noticed a lot actually, but that has nothing to do with this ... Ha! 3 words: Mud. Cloth. Pillows.

They have a unique texture and can be put into any style of home to add a geometric element. All of that to say ... I love love love them! So, I sat down and whipped one up really quick.

Supplies needed:
Plain cream or white pillow cover
Sharpie marker or black fabric paint
Imagination or inspo photos


Lay your pillow cover out flat on the table and start drawing a pattern to your liking. It's so so easy! Keep in mind that the sharpie will probably bleed when washing it, so this will be a decoration only pillow .. wink wink. 


You can add tassels or pom poms to the corners or sides to give it even more texture! Now hurry up and make your own mud cloth.


Wednesday, April 12, 2017

How to create rustic wood

I don't know about you, but I love the look of rustic wood. My biggest issues are that 1 I can never find it without having to sell my first born and 2 I do not have the patience for stain. A few years back I realized that I can make a stain out of watered down acrylic and latex paints. Some people call it a wash I call it a faux stain 😉. So today, I wanted to share a tutorial on how to create weathered wood using paints. You will need:
1. Brown acrylic paint
2. WATERED down black acrylic
3. White acrylic or latex paint
4. Bristle brush
5. Sand paper

Start by dry brushing white paint (meaning take your brush and dab most of the paint off of it and paint lightly across your piece of wood).
Next you are going to put a little black and a little brow on your brush, again dab most of the paint off, and using the dry brushing apply the paint.
Whoah! That looks crazy, right?! Now this is where the sand paper comes into play. Wait about 10 minutes and lightly sand the wood. 

Your piece will look similar to this once you have it sanded...
And now you get to make a choice. You can either keep this look or repeat the steps until you reach your desired effect. 
Here is my finished product: